Christian J
Welcome to my page! View my first assignment here!
Writing prompt Christian J
A Voki is a website where you can make an avatar and make it talk. In Voki you can link it to other page and post it to Facebook, Twitter, and Gmail. Some things in Voki are require you to pay for.
How to get stated making an avatar. Step 1 go to http://www.voki.com/ and click “Try it – it’s free”. Step 2 choose how your avatar will look. Step 3 click the “T” to give your avatar a voice.
How to make a presentation. Step 1 you can enter a text or you can make an avatar to talk in it. Step 2 add as much slides as you need. Step 3 presentation it to people.
How to share with friends. Step 1 after your done with your avatar or presentation you have to choice where you want to post it on. Step 2 you sign into where ever you want to post it at. Step 3 post it.
That is step by step process how you make your very own fun and creative Voki. It always fun to make an avatar that says whatever you want it to say and look however you want to look. The end.
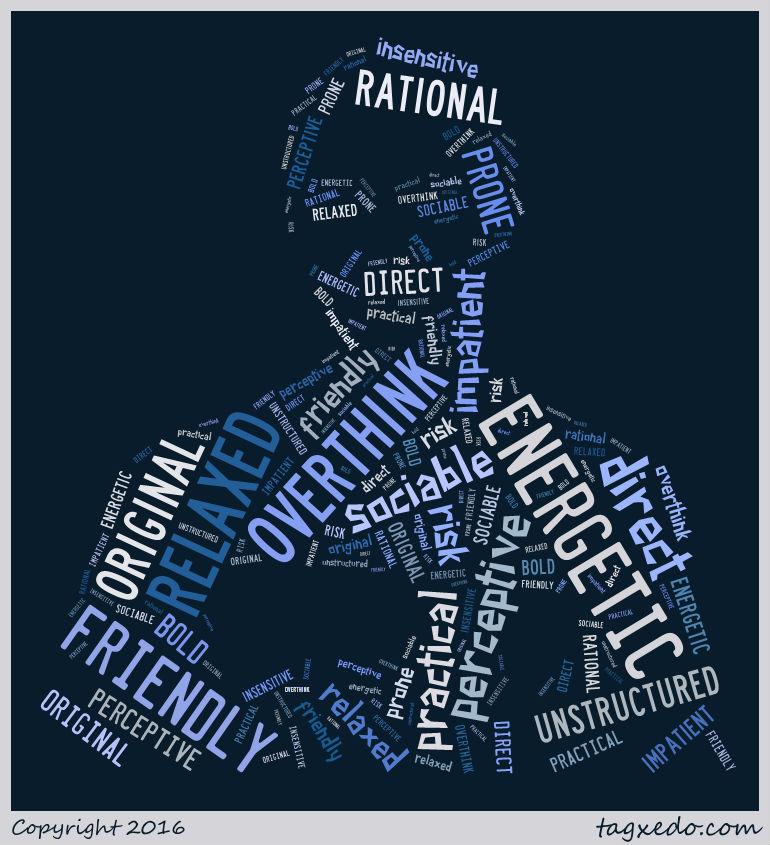
This is a simple step by step process to make a Tagxeto. A Tagxeto is a picture of you or one of the pictures that you can use form the website.
Step 1 go to http://www.tagxedo.com/ to get stated. Step 2 get a picture that you like. Then you add words that you think describe you in the load button and type them in the box.
That is a really simple process to make a Tagxeto. Hope it helps you make yours! The end.

Instructions how to make a color wheel in power point. I am telling you how I make my color wheel in power point. This is the easiest way to make a color wheel that I found.
Step 1 open you power point. Step 2 pick pictures that like that have red, red orange, orange, orange yellow, yellow, yellow green, green, green blue, blue, blue purple, purple, violet. Step 3 put those colors in power point than crop them into a triangles than put them together to make a circle.
That is the easiest was I found to make a color wheel in power point. It is not really hard but can be a long process. Hope it helps you
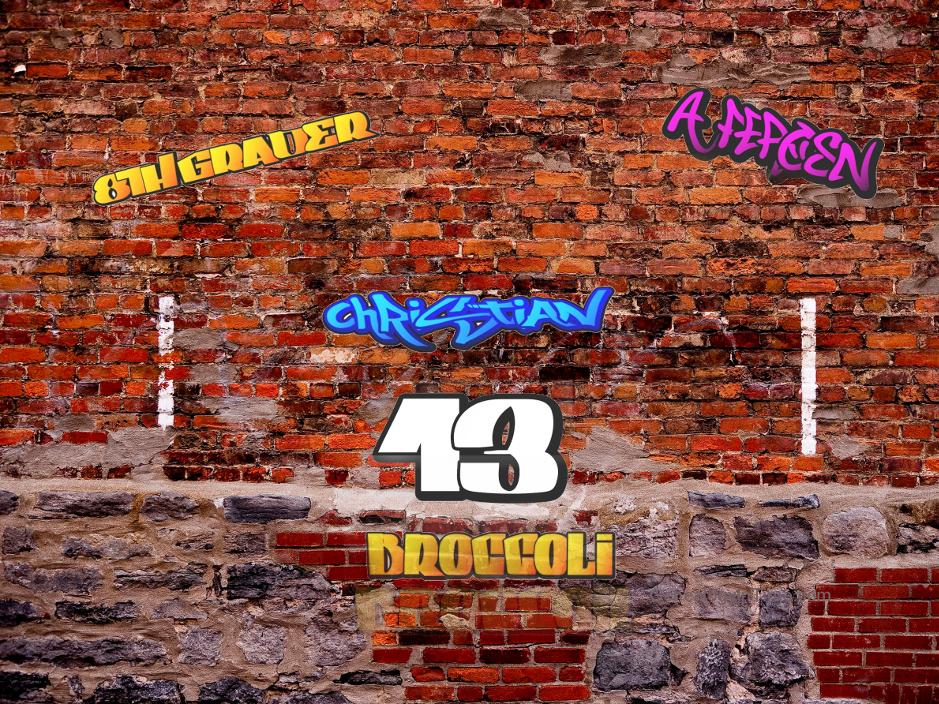
Steps to make a graffiti wall. I’m going to tell you the easiest way that I found to make a graffiti wall. Hope it helps you.
Step 1 go to postergen.com. Step 2 input you name and word that describe you and change the color and font. Step 3 get gimp and picture of a brick wall and input the words as layers then fussy select the back ground and eras it.
That is a simple, quick way of making a graffiti wall. I thought it was easy and you will too. Hope it helps.
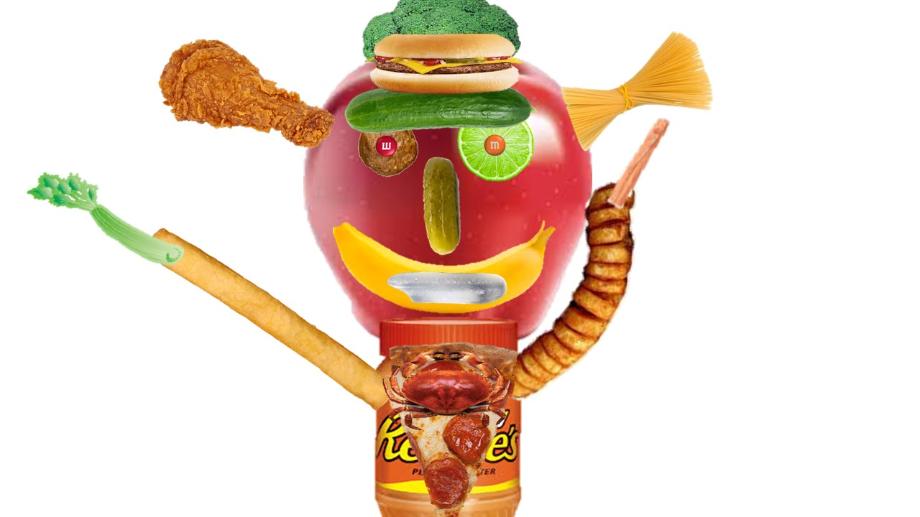
Steps to make a food face. I’m going to tell you the easiest way that I found to make a food face. Hope it helps you make yours.
Step 1 find pictures of food that you think can make a face. Step 2 put those pictures on power point. Step 3 eras the background of the picture and arrange the food in a form of a face.
That is a simple, quick way of making a food face. I thought it was easy and you will too. Hope it helps.

One day there was a kid that was outside with his friends and they were taking pictures of each other for a project. The project was to take a picture of yourself and cut in pieces and make it look a little deformed but not too deformed. This kid needed to make up some projects from last week so he did. After he did he stated his picture project so when he did he had no idea how to do it so he thought to himself for a second and got an idea he cropped pieces out of the picture and saved them as a layer. Next he put the pieces together like a puzzle and made a pretty good picture but didn’t think it was done so he got more pieces to full where there was missing spaces and made it look better.
When he was posting it on a website he was in a hurry and didn’t know that he put the wrong one the website. So the next day in that class his teacher asked where was his project and he said I posted it on the website the teacher said that she didn’t see it on there so he checked and didn’t see it so he fixed it. Then he told the teacher that he fixed it and she said ok good know come up with a writing assignment for the picture and it could be made up but has to be about the picture.
The next day he went on to wright his story so he thought about what he was going to wright so he started how the picture started and how it became the picture etc. Also wright about how the everyday something new happened to him and added some more details to fill the story. A little bit later he had most of it done but he couldn’t think anything else to wright in the story so he sat at his work station and thought for a little but before he could wright anything the bell rung loudly. The next day that class he had idea for the story and wrought another paragraph and got closer and closer to finishing but the loud bell rung but the next day he got to finish and turned it in the end.
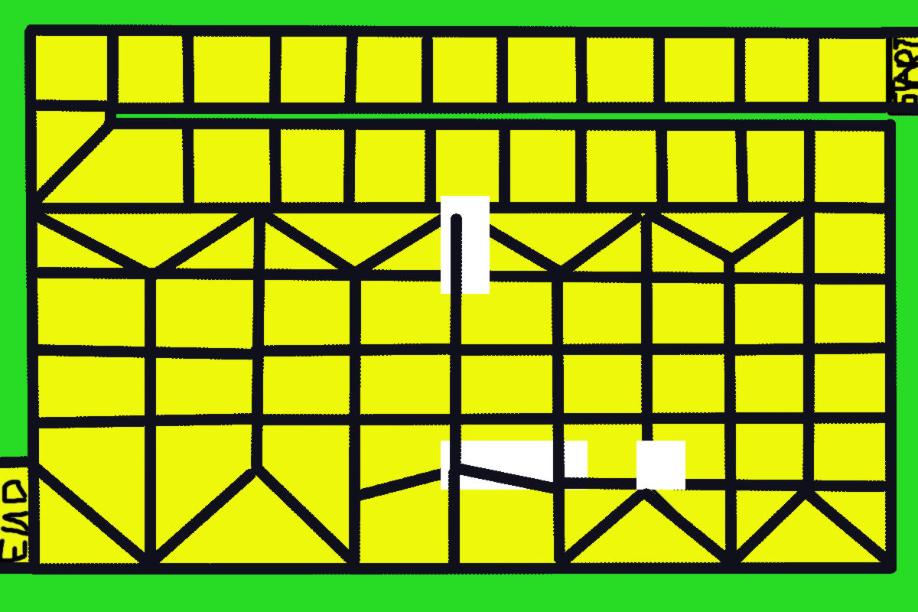
Yellow brick road
Number of players
Age Range
2-6
6+
Fluff Text or Back Story
The name is from the wizard of oz.
Game Objective
You go square to square. The point is to reach the end. Whoever gets there first wins.
Game Contents
Game board, spinner, and dice.
Game assembly
Just make up characters out of anything.
Game setup
Set the board down and put the characters on it.
Game Play
The person who roles the highest number with a dice goes first. The person who roles the lowest number goes last.
Turn Sequence – When it is the persons turn the person rolls the dice then spins the spinner. Whatever’s on the spinner you follow what it says then move how many spots your supposed to move.
Special conditions
If you land on the same place as someone else just continue it does not affect the players.
Winning/Scoring
First one to reach the end wins. There can be no tie.