ERIN D.
Welcome to my Webpage! View my first project here!
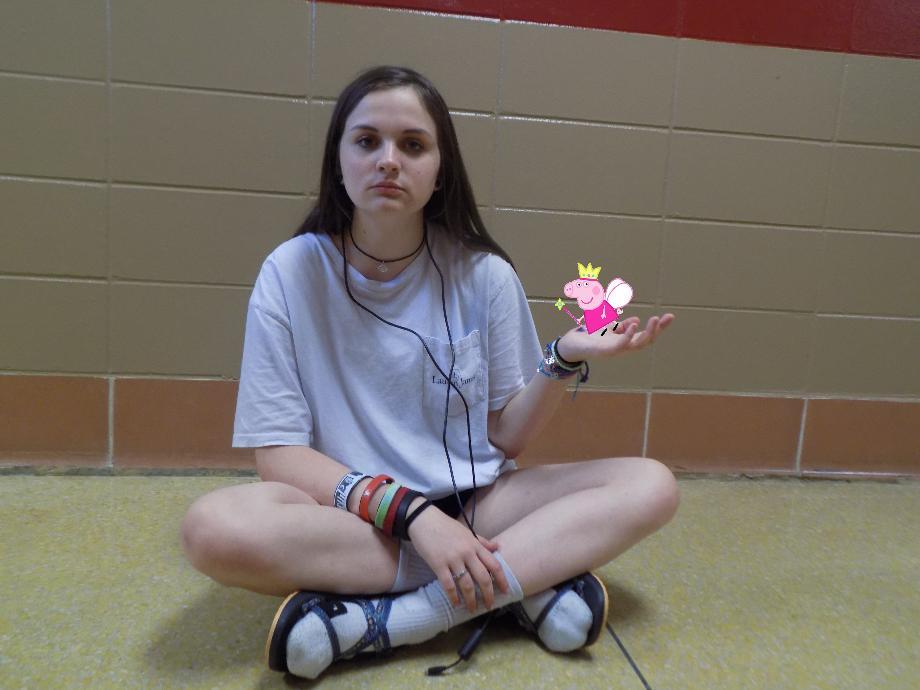
I will be writing to tell you how I made my voki and all the steps it took. I will walk you through the step by step process of making your voki and personalizing it. Let’s begin with the first step in making a voki. The first step to making a voki is designing the avatar. This is where you make your voki look like whatever you want it to. You pick the hair color, the eye color, the clothing your avatar is wearing, the physique of the avatar and much, much more. You can also change the character. You can make your voki a pig or an alien. You make a voki that look like you or your dog. There are so many different options with this learning tool. The next step to making your voki is putting in audio. In voki, you can add a voice to your avatar. You can choose from a variety of voices and accents. You can make your voki say whatever you want it to by just typing in the given text box. You can also make your voki sound like you with the microphone button. In this part you just click on the icon and talk. You can say whatever you want and your voki will repeat. Next I’m going to tell you how to save it. When you are finished with your voki, you need to save it. You would go to the bottom of the page and click on the save button and now you are good to go and you have just created and saved your voki. These are all the steps to making a voki and how to save it. I hope this was useful and simplified the process of making a voki.
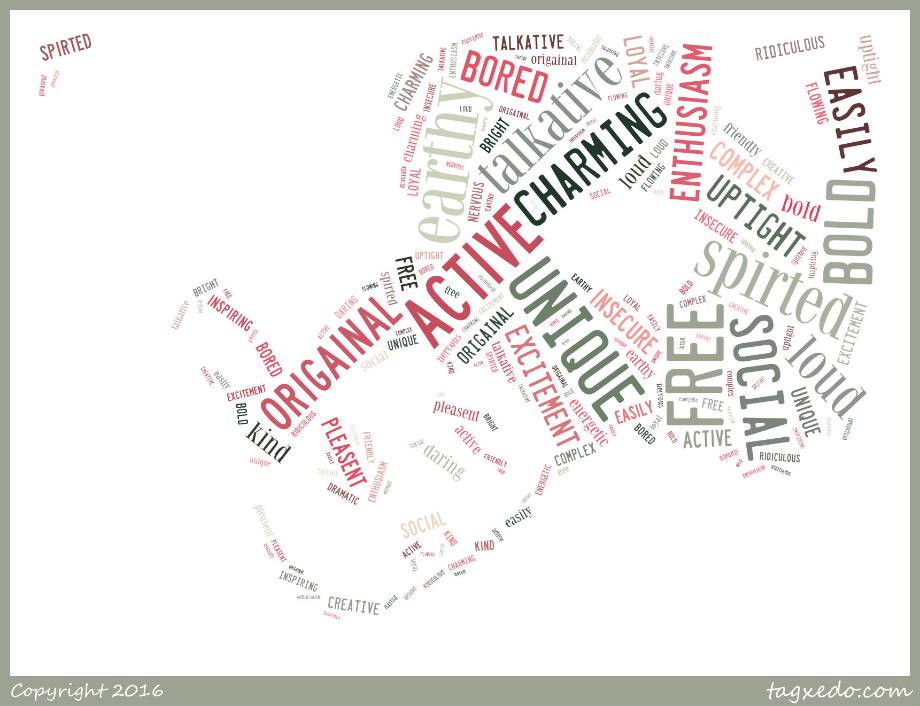
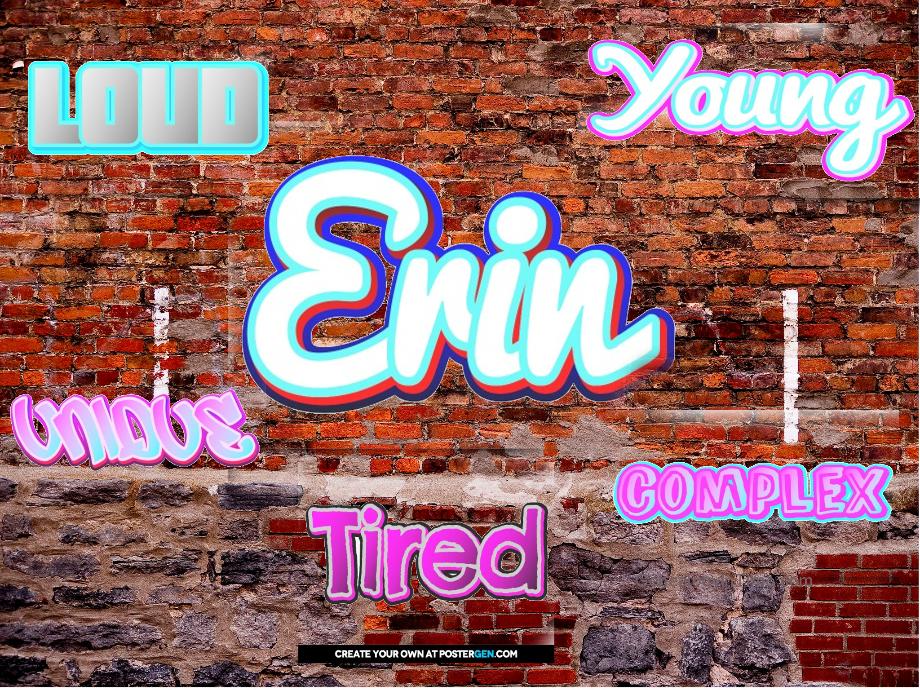
My tagxedo and how I made it In this writing, I will be telling the step by step way of making a tagxedo and saving it properly. Let’s go ahead and start with step one. The first thing you do in a tagxedo is putting your picture. After you selected it, you will upload it and edit it. You can change the intensity and color of the picture to make it look more or less like the selected image. The next step is picking your words. The best way to do this is to write them down on a piece of paper. I used thirty words. After this you will go ahead and type them in the given text box. Tagxedo does the rest. It puts your words in and scrambles them and makes them the picture. Now you can pick the color scheme of your words. After this you want to save your tagxedo. You just scroll down to the bottom of the page and click the save button. Simple as that.
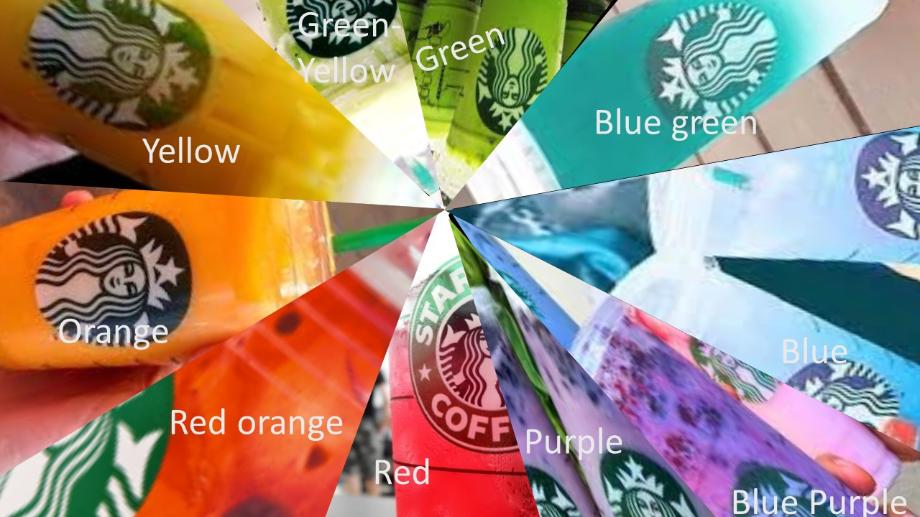
My color wheel and how I made it
The first step I used to make my color wheel was picking out the pictures, I used picture of different colored Starbucks drinks. Then I had to crop them and put them in order from warmest to coldest colors. After that I labeled them by their names and then i did the final touchs ans checked it for error and thats who you make a color wheel. Some uses for color wheels are to match colors. If youre making a watercolor or painting something that has simalir colors, you could use a color wheel to compare the colors and get the best color matches.
One great example of using a color wheel to is Lori Mcnee. She uses the color wheel in everyone of her paintings. she compares the lights with the darks and combines them till she gets the balence/combantion she wants. Then she figures out the way she wants to combine them and how she wants them to "flow".These are some reasons you would use a color wheel.
graffiti is a form of art that can be found just about anywhere. many people do graffetti on the sides of buildings, trains, and many more public things. artists use graffiti to e


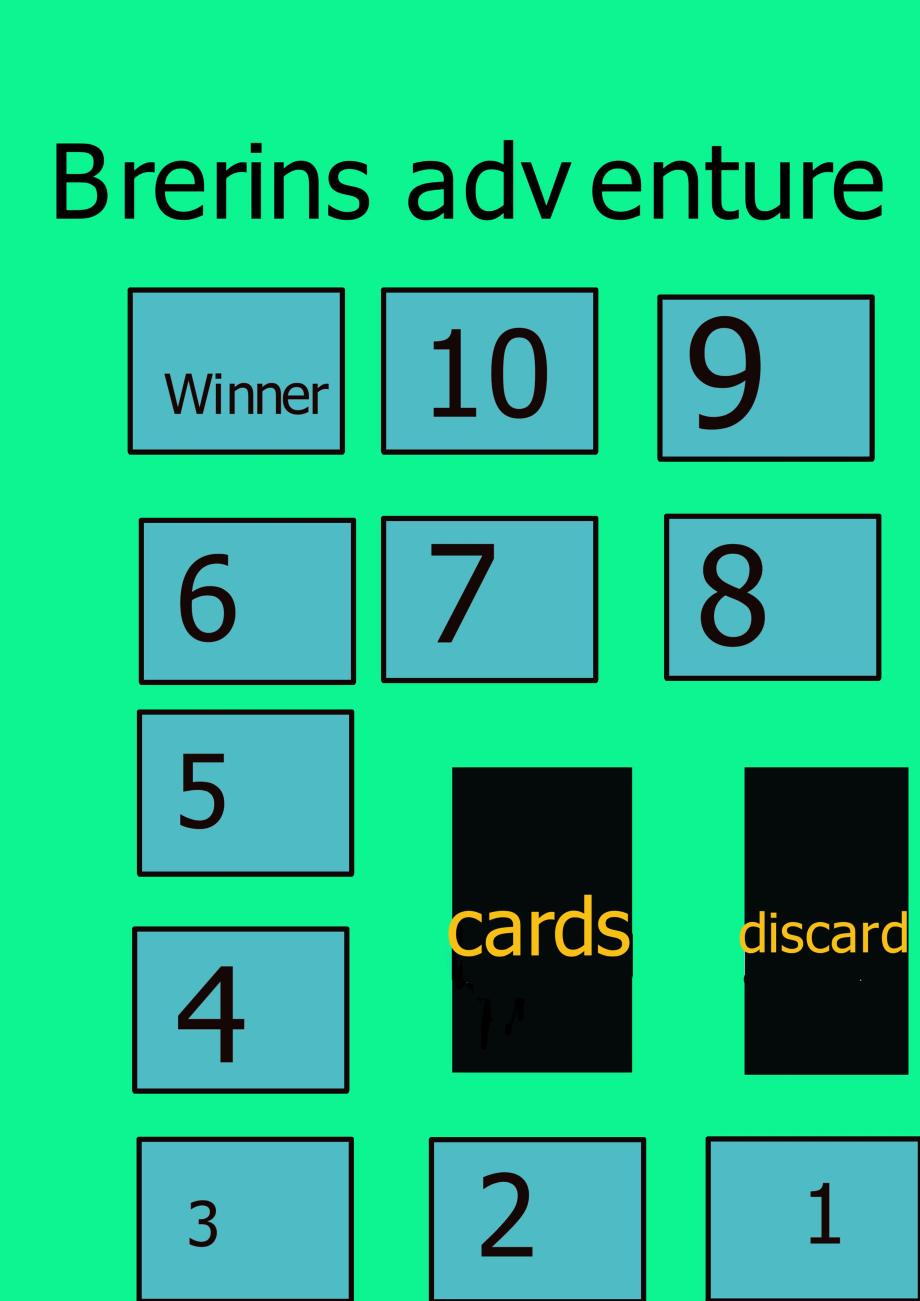
Brerin’s adventure
Number of players
Age Range
4-7
13+
What this game is for
Take your boring small hangout to the next level with a hilariously fun game! Not only will you have lots of laughs but you will make rememberable memories with your friends.
How the game works!
To start the game a player draws a picture on a piece of paper. After that player draws a picture, each player puts down one of their cards they think best describes the drawn picture. They then put that card down and the player that drew the picture chooses the card that best describes the picture drawn. Then each player that put down a card draws a card. After the round finishes, the game moves clockwise and the next person draws a picture and the game repeats.
Game Contents
To start this game, you need the cards, multiple sheets of paper, a pencil, and the board.
Game assembly
All you need to assemble to game is to lay out the board, and put game piece for each player at square 1.
Game setup
To setup the game, shuffle cards, and give out 5 cards to every player.
Winning/Scoring
The winner is whoever reaches space 10 on the game board before anybody else.